Introduction
Pandas standing for panel data is managing an outstanding object called DataFrame and the first time I encountered the famous « dataframe object » concept was when I was asked to put in place an Apache Spark SQL environment in my current customer’s day.
As a SQL and java developper, I didn’t immediatly realize that I ran into one of the most powerful API to manage data, a mix between SQL and functional programming using lambda functions.
The dataframe (or dataset of rows, thanks to java 😀 ) is technicaly speaking a simple table and can be manipulated in ease with functions inspired from SQL keywords, this brillant idea leads to the consecration of Apache Spark version 2 with its Spark SQL module, but that not the subject of this blog post 😉
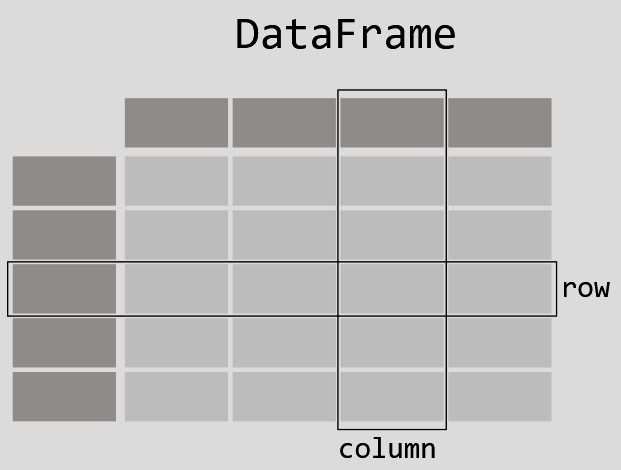
Pandas VS Pandas on Apache Spark
As a new python developper I recently discover Pandas and this is a really better starting point to learn the concept than installing a complete Apache Spark instance, you don’t need to know about technical background concept like ressource management, DAG, Catalyst engine optimizer, clustered machine principle, etc… just install the python libraries and we are good to go and even better, we can use a notebook editor like JupyterLab using another simple pip install command.
As you can see the complete difference here between classic Pandas intallation and Pandas on Spark, Pandas is easy to familiarize yourself with, as its single-threaded and just simply put the data in memory, very convenient to quickly manage a csv or excel dataset.
To go further, check also the full pyspark getting started, pay attention that there are some limitations due to distributed and parallel execution model, I would suggest to use the pure Spark API.
Demo
Ok, talking is cheap let’s see how it works, I just introduce two simple ways to open a notebook and launch a code sample
- Using an online MyBinder notebook but as I didn’t success (let me know from your side in comment) I recommand the second one 😉
- Like usual, using docker compose… locally
$ git clone https://github.com/jsminet/pandas-getting-started.git
$ docker compose up -d
Once both containers are up and running just open your favorite browser and go to jupyter.localtest.me, then type secret as the password, the password came from a crypted file I generated into a specific folder.

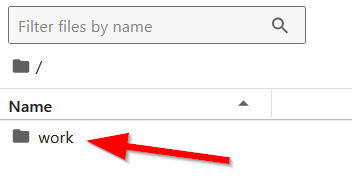
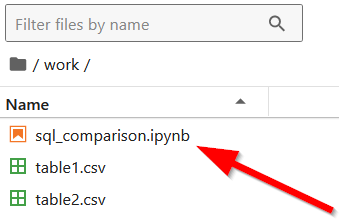
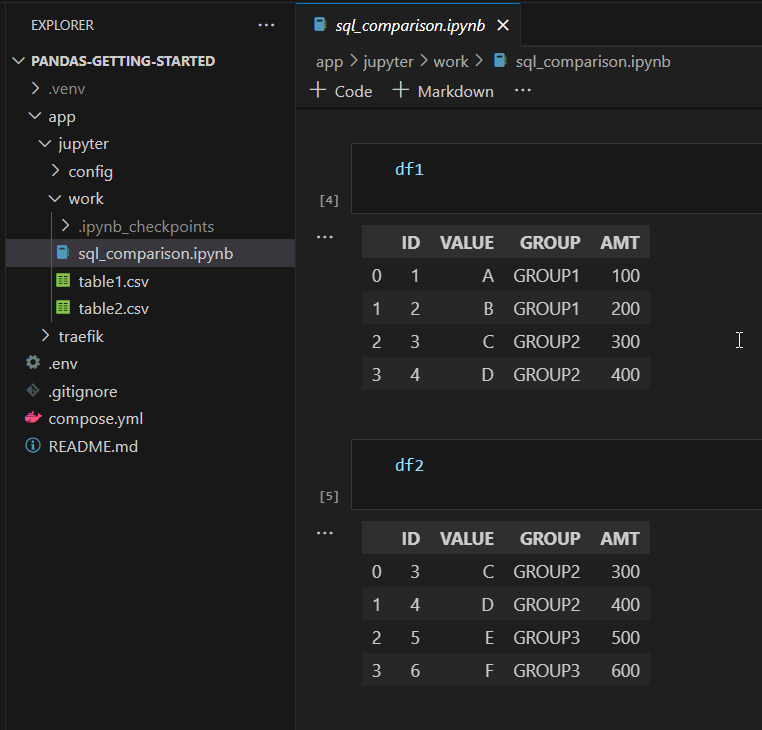
Click on work directory and double click on sql-comparison.ipynb, this notebook loads two minimal csv files into memory.
You can now run all the steps using the « double play » button
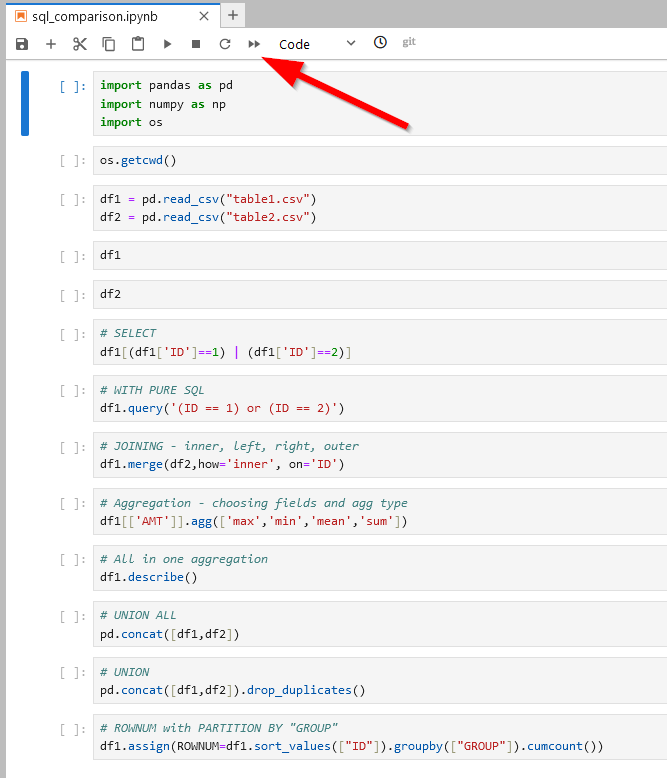
JupyterLab will ask you to restart the kernel, click on Restart

That’s it you see all the results for each cell querying the two dataframes, I reproduce SQL behavior using the corresponding lambda function, we can also make window aggregations.
For information, IDE tools like Visual studio are able to show the notebook result graphicaly.
Conclusion
JupyterLab and pandas rock, the webui tool is reponsive and really fast and by using Pandas you can read and write data in a variety of format I even didn’t expect (orc, parquet, pickle, csv, hdf, sql, dict, excel, json, html, feather, latex, stata, gbq, records, string, clipboard, markdown).
Here is a list of others cool Jupyterlab features
- Git out of the box integration, you can clone your repository directly
- Manage multiple kernel for notebook isolation
- A very user friendly debugger
- You can download your notebook as is or export it as a file like pdf, md, html, …

Commentaires récents